
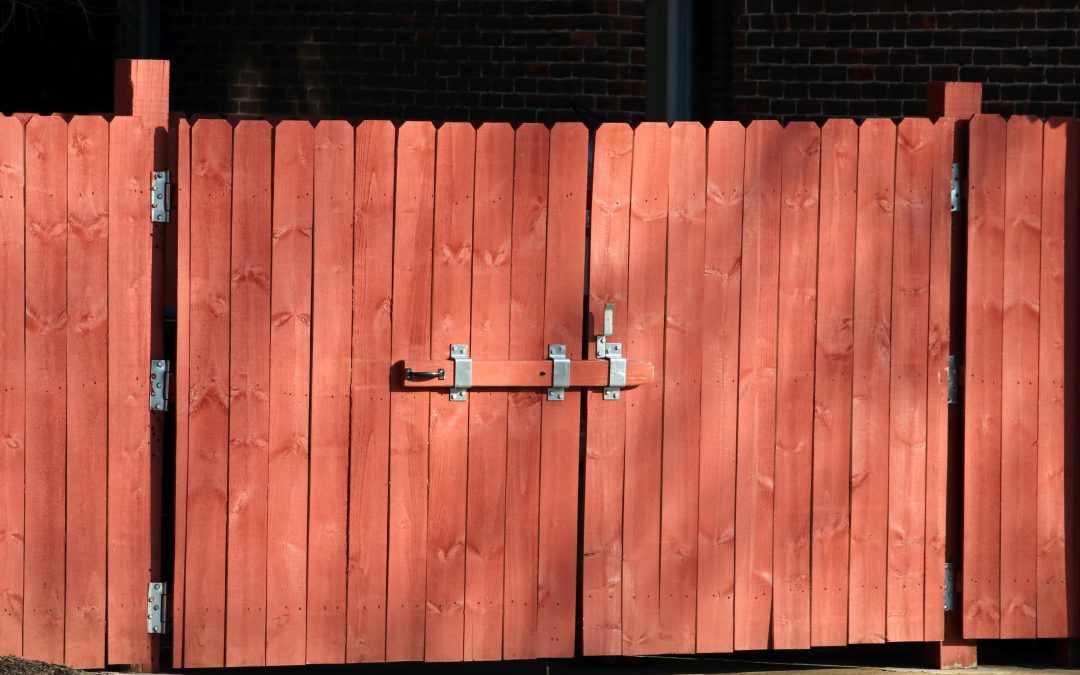
A fence can transform your property. It provides privacy, security, and even adds to your home’s curb appeal. But have you ever wondered what goes into installing one? It is not just about digging holes and putting up boards. Understanding how fencing installation works can help you plan better, avoid mistakes, and get the results you want.
Whether you are considering a wooden, vinyl, or chain link fence, knowing the process makes the project less intimidating and ensures long-lasting results.
Why Fencing Installation Matters
Fences are more than just boundaries. According to the American Fence Association, properly installed fences increase property value, enhance security, and can even reduce noise in urban areas.
A professionally installed fence ensures:
- Stability and durability
- Proper alignment and height
- Compliance with local building codes
- Reduced maintenance over time
When you understand how fencing installation works, it becomes clear why careful planning is essential.
Planning and Design
Every fence project starts with a plan. Before any digging begins, homeowners and contractors consider:
- Property lines and boundaries
- Fence style and material
- Local regulations and permits
- Budget and timeline
A survey of your property may be needed to avoid disputes with neighbors. Planning also helps determine how many posts, panels, and other materials you will need.
Design decisions are not just aesthetic. For example, a solid privacy fence requires different spacing and post support compared to a decorative picket fence. Early planning ensures the final installation looks great and functions properly.
Choosing the Right Materials
Fencing materials vary widely. The most common types include:
- Wood: Classic look, customizable, but requires regular maintenance
- Vinyl: Durable, low maintenance, and weather-resistant
- Chain link: Affordable and durable, ideal for security or pets
- Aluminum or steel: Strong, low maintenance, and modern appearance
Each material affects the installation process. For instance, vinyl panels are often pre-assembled, while wood boards require precise cutting and nailing. Understanding material requirements is key to knowing how fencing installation works for your specific project.
Measuring and Marking
Accurate measurements are crucial for a professional-looking fence. Contractors typically:
- Measure total fence length
- Mark post locations with stakes and string lines
- Account for slopes and uneven terrain
Proper spacing ensures the fence is straight and stable. Mistakes in this stage can lead to leaning posts or uneven panels. This careful preparation is an early step in how fencing installation works that sets the foundation for the rest of the project.
Digging Post Holes
The next step is digging holes for fence posts. Depth and width depend on fence height, material, and local soil conditions. As a general rule:
- Posts should be one-third the total height of the fence underground
- Holes are typically 8 to 12 inches wide
- Gravel or concrete may be used to secure posts
For example, a six-foot wood fence often requires posts set in concrete about two feet deep. Proper post installation is critical because it determines the fence’s strength and longevity.
Setting and Securing Posts
Once holes are dug, posts are positioned vertically using a level. They are then secured with:
- Concrete or gravel for stability
- Temporary bracing until concrete sets
- Adjustments to ensure alignment with other posts
Post installation is the backbone of the fence. Even small misalignments at this stage can cause major problems later. Knowing this helps you appreciate how fencing installation works beyond simply attaching boards.
Attaching Panels or Rails
After posts are secure, panels or rails are installed. The method depends on the fence type:
- Wood fences: Horizontal rails are nailed or screwed to posts, then vertical boards are attached
- Vinyl fences: Panels are slotted into post brackets
- Chain link fences: Fabric is stretched and attached using tension bars and ties
Precision is important to maintain uniform spacing and height. Proper attachment ensures the fence can withstand wind, weather, and daily use.
Finishing Touches
Once panels are installed, finishing steps improve appearance and durability:
- Applying paint, stain, or sealant on wood fences
- Installing caps or decorative tops
- Checking for loose fasteners
- Trimming excess posts or boards
These finishing touches complete the project and prevent issues like rot or rust. They also show how fencing installation works as a combination of structure and aesthetics.
Inspection and Safety Checks
Before calling the project complete, contractors inspect the fence to ensure:
- Posts are firmly set
- Panels are level and secure
- Gates open and close smoothly
- Height and spacing meet regulations
Safety checks prevent future problems and ensure your fence performs as intended. Proper installation also reduces maintenance needs and repair costs over time.
Maintenance Tips for Longevity
Even a well-installed fence benefits from regular care:
- Cleaning vinyl or metal fences periodically
- Re-staining or sealing wood every few years
- Tightening screws or fasteners
- Checking for soil erosion around posts
Regular maintenance extends the life of your fence and protects your investment.
DIY vs Professional Installation
Some homeowners attempt DIY fence installation. While possible for small projects, professional installation offers:
- Expert knowledge of materials and soil conditions
- Proper tools and equipment
- Time savings and reduced stress
- Compliance with local codes and regulations
Understanding how fencing installation works helps you decide whether to tackle it yourself or hire a professional for a reliable result.
Final Thoughts
A fence does more than mark your property line. It enhances privacy, safety, and style. Understanding how fencing installation works gives you insight into every stage, from planning and measuring to post setting, panel attachment, and finishing.
When done correctly, a well-installed fence lasts for decades and adds real value to your home. Planning carefully, choosing the right materials, and relying on skilled installation are the keys to success.